
1. Assign User Licenses
To utilize the SMS Ninja App, you must first assign licenses to users in your organization after a successful installation.
- Navigate to Setup > Installed Apps.
- Locate SMS Ninja in the list view and click on Licenses.
- Click the Add button and select the users you wish to assign licenses to.
- Assigned users will now have access to the SMS Ninja app.
2. Assign Permission Sets
Different permission sets are available in SMS Ninja, allowing users to interact based on their roles.
- For users sending messages, running campaigns, or acting as sales representatives, assign the SN_User permission set.
- For users in higher hierarchy roles responsible for setting messaging providers, creating campaigns, templates, or for admin functions, assign the SN_Admin permission set.

3. Steps to Assign Permission Set

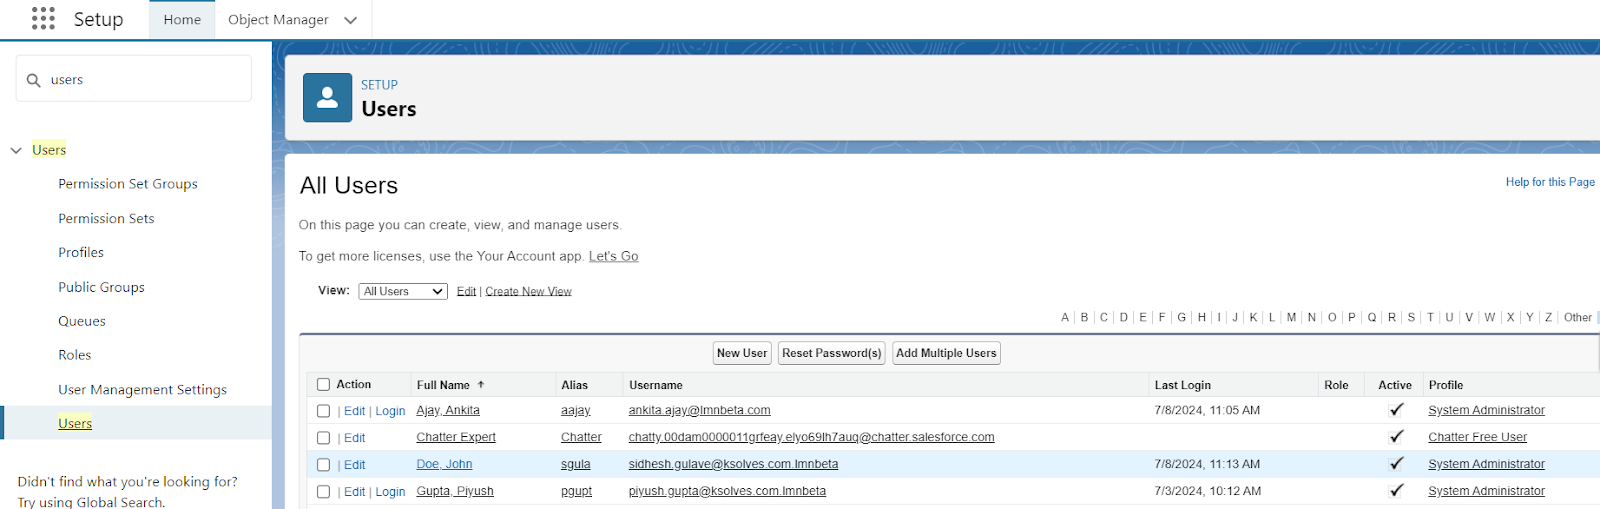
- Go to Setup > Users and select the respective user.
- In the next window, hover over the Permission Set Assignment section and click Edit Assignments.
- Select the permission set (SN_User or SN_Admin), click Add, and then click Save.
Note: For using Campaign Bulk feature, user should have Marketing user checkbox checked in user settings Setup > Users > Marketing User checkbox
4. Create Site
- Go to Setup > Sites.

- If a Site already exists, skip to the next section; otherwise, click New to create a new Site.
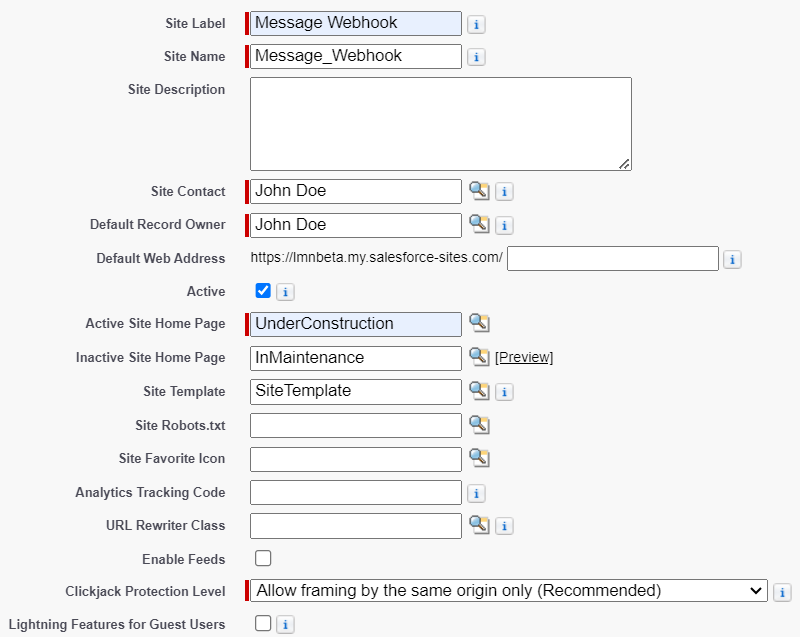
- Enter a Site Label and Site Name (this will be the site’s API name).
- Check the box next to the Active field.
- For the Active Site Home Page, set it to an "Under construction" page.
- Keep other fields unchanged and click Save.
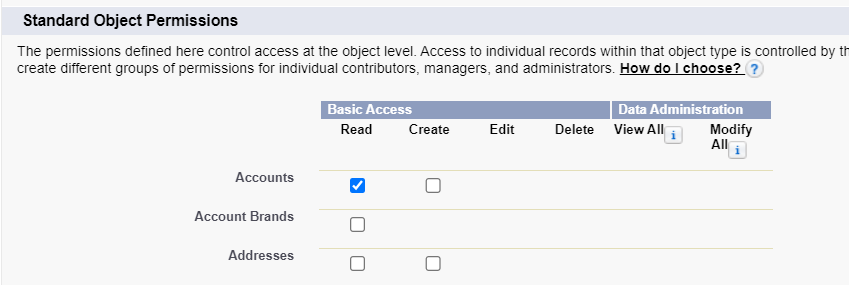
5. Public Access Settings
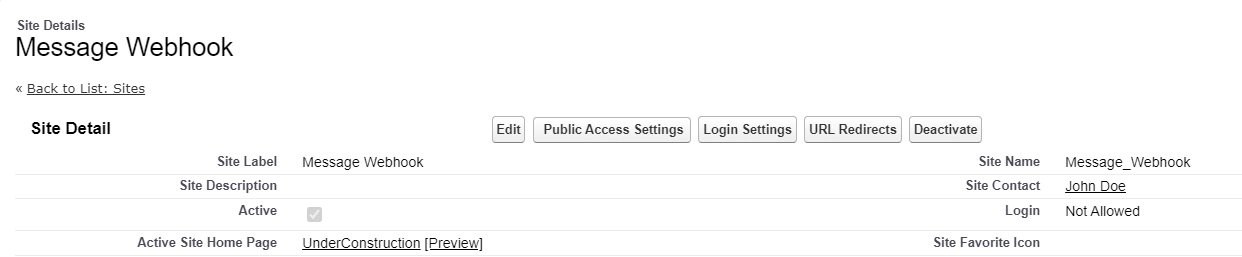
- Open the created site and click the Public Access Settings button.
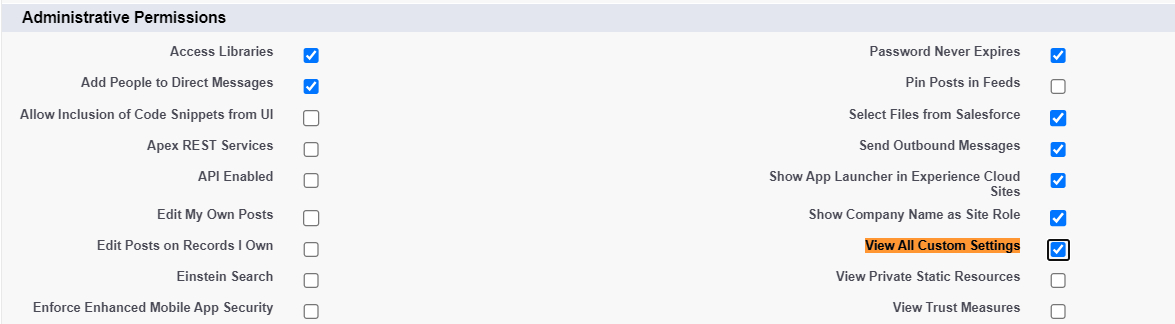
- In the Administrative Permissions section, click Edit and check the View All Custom Settings checkbox.
- In the Standard Object Permissions section, check Read access for the objects you want guest users to access (e.g., check the Lead object checkbox).
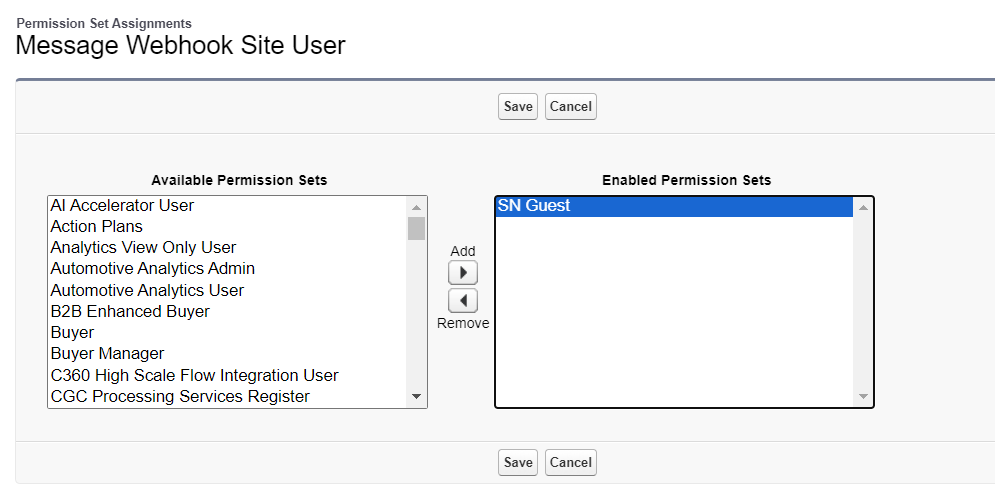
- Scroll to the top of the page and click View Users.
- Click on the name of the site user in the list, hover over the Permission Set Assignment section, click Edit Assignments, select the SN_Guest permission set, click Add, and then click Save.
6. Enable Search

To search and identify customer records in a custom object, enable search on the object. Steps to enable search:
- Go to Setup > Object Manager and select the desired object.
- In the Details tab, click the Edit button.
- At the bottom of the page, check the Allow Search checkbox.
With the initial setup complete, you can now proceed to configure settings within the SMS Ninja App, including setting messaging providers and phone numbers.